Watercolour Edge Control
Watercolour is primarily creating shapes of colour on paper.
Each of these shapes or lines has at least two edges.
Everytime you produce an edge you have to decide:
is it a soft or a hard edge that you want?
Some shapes will have both hard and soft edges.
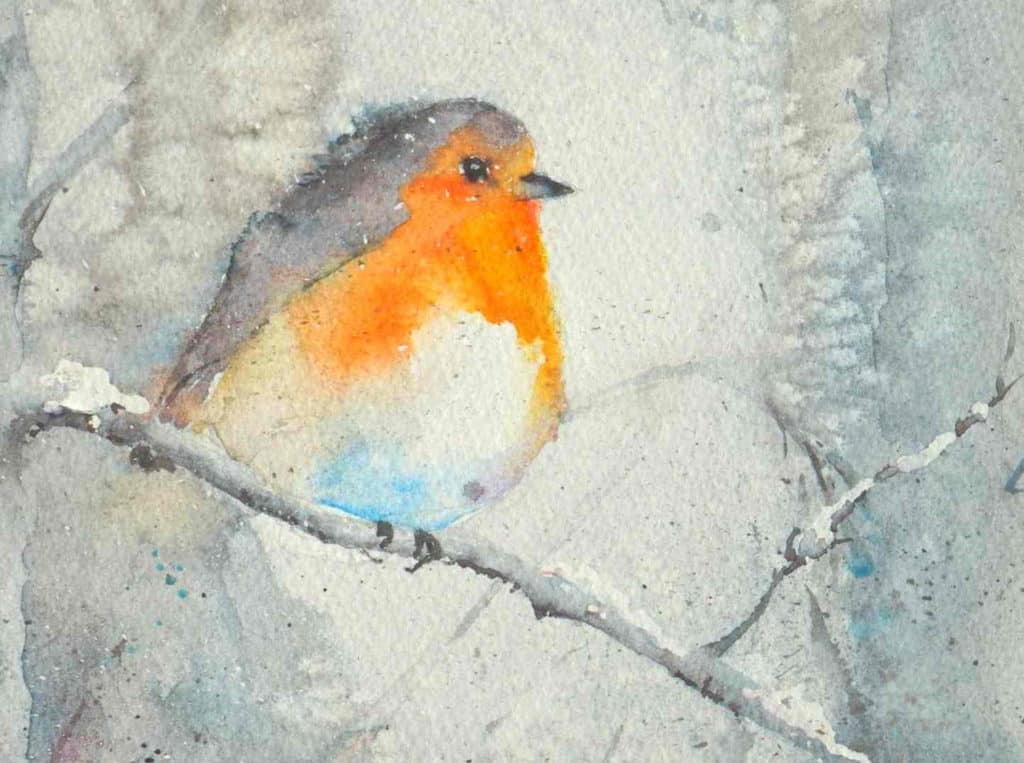
In the painting of the robin below there are many hard and soft edges throughout.
The hard crisp edges are used in the foreground to give a sense of depth against the soft blurred edges of the background.
For example, the stick has hard edges and jumps forward of the background giving an illusion of depth, as does the robin’s feet, eye and beak.
A hard edge,
A hard edge is the easiest to produce and in this case the feet and branch were made by placing a brush stroke of paint over the background when the background wash had completely dried on the paper. Hard edges will draw attention to your focal point.


The Reserved hard edge
This white area of snow could have been produced by negatively painting around the shape on dry paper or it could also have been reserved using masking fluid.
A Soft Edge (wet in wet)
There are several different ways to produce a soft edge.
1) WET-IN WET
In the robin’s breast (right) several colours have been laid, each one overlapping the other whilst the previous colour is still damp, allowing the wet pigments to blend with each other, giving a soft, smooth transition from one colour into the next.
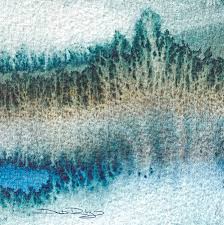
Starting with a swatch of orange at the top, (with the board on an angle allowing gravity to keep the pigment travelling down the page ) then whilst the orange is still damp a light greyish swatch is laid alongside below this, allowing the two colours to mix on the paper.
This is then immediately followed by a blue wash alongside the grey, then going right a purple wash is added.
NOTE
i) It’s often a good idea to have premixed all your colours in your palette before you start.
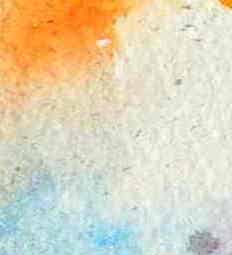
ii) It is crucial to have the correct ratio of pigment to water in your mixes. Too thick and the colours won’t mix, too thin and the water will push the other pigments back resulting in a ‘caulifower’ or ‘bloom’. (see right, these ‘blooms’ can also be beautiful and useful when you know how to control them.) aim for a consistency of coffee rather than tea.

The Spray Bottle.
These are in the top ten list of essential tools for many watercolour artists. In all sizes they can deliver a gentle mist to an area, giving the artist extended time in which to introduce another wash without producing a hard edge.
Some sprays are more gentle than others, a hard spray can also be useful when applied to a painted area where the edges are too hard and you want to loosen the pigment without using a brush. Giving an area a blurred effect.
To add a soft edge over an existing dry wash, spray the area first gently one spray at a time until you have the desired amount of water on the paper then apply the correct consistency of pigment by brush into the area.
Basic Edge Control Video
Liron Yanconsky’s video on watercolour edge control
